How to Use Geoloqi with an Android Phone
Note: Geoloqi no longer works with Instamapper
Note: This tutorial used InstaMapper, a free GPS tracking and location sharing service. After nearly 5 years of operation, the site shut down on December 13th, 2012. There are now dedicated Geoloqi apps for Android. You can now download Geonotes or Geotracks for Android.

If you have an Android or Blackberry, you can use Geoloqi right now. Currently, the Geoloqi app is in beta testing. The first Geoloqi app release is for iPhones running 4.0 or later, however, Geoloqi has Instamapper integration, which means that you can use Geoloqi, including sending yourself Geonotes, if you have a Blackberry or Android. The only difference is that you’ll have to use the Geoloqi.com website to leave yourself Geonotes – only the iPhone version will allow you to do it from the phone.
1. Log into http://beta.geoloqi.com and enter your phone number in the field provided. Then go to http://beta.geoloqi.com/settings/connections.
Under “Geolocation Services” you’ll see “Instamapper Device Key”. Click the “Create” button. A Device Key will appear shortly afterward.
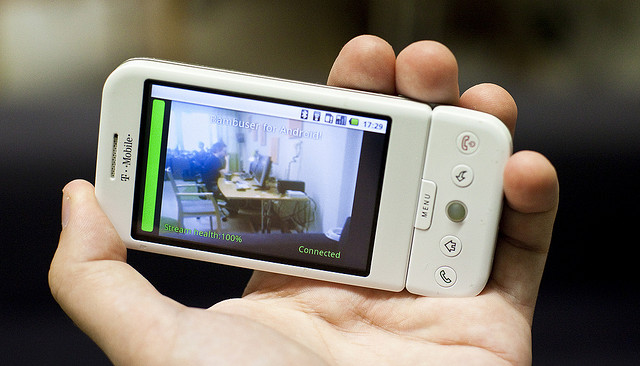
2. Go to the Android store on your phone and find a free app called GPS Tracker by Instamapper.
Download the app and start running it. Click on “Menu” and click on “Settings”. You’ll see a field to enter your device key that you generated on Geoloqi. Enter that key there.
The rest of the settings concern what interval you’d like the GPS tracker to track at. Setting the tracker to track every 5 seconds will wear down your battery more quickly, but it will give you a very high resolution trail to look at on your map on Geoloqi.com. Set the buffer size at 100, and don’t worry about the Units. Imperial is fine. Setting Minimum accuracy (ft) to 1000 is also recommended. This way, Geoloqi will ignore points that are less accurate than 1000ft.
General Functions:
Press the “Menu” key to bring up settings.
Press the “Home” key to run GPS Tracker in the background.
Press the “Back” key to quit tracking.
A note on battery life:
GPS is powered on continuously for send intervals less than 121 seconds. If you want better battery life, set the send interval to at least 121 seconds. This will cause GPS Tracker to go to sleep in-between updates.
From there on out, you can use all the features of Geoloqi available on the website. Click on your map to see your history, share a link with others, and send yourself a Geonote by drawing a radius on the map, writing a message, and clicking send. If you share your location with someone, they’ll get a mobile version of your trail on their mobile phone, and a web version of your trail on the web.
You can toggle your privacy options at http://beta.geoloqi.com/settings/privacy and see your list of shared links at http://beta.geoloqi.com/settings/share. All of your account settings are at http://beta.geoloqi.com/settings/profile.
Finally,if you want to quickly access your map, you can easily do so by going to http://beta.geoloqi.com/username or where the username is the id of the Twitter account you used to sign in. If you didn’t sign in with Twitter, go to the connections tab in Geoloqi to connect your Twitter account. You’ll then be able to easily access your Geoloqi account by username URL.
Additional Help
If you have more questions, see Geoloqi Help. If you can’t find what you need there, please ask a question! We’ll get to it as quickly as we can.
Flickr photo by tomsun.